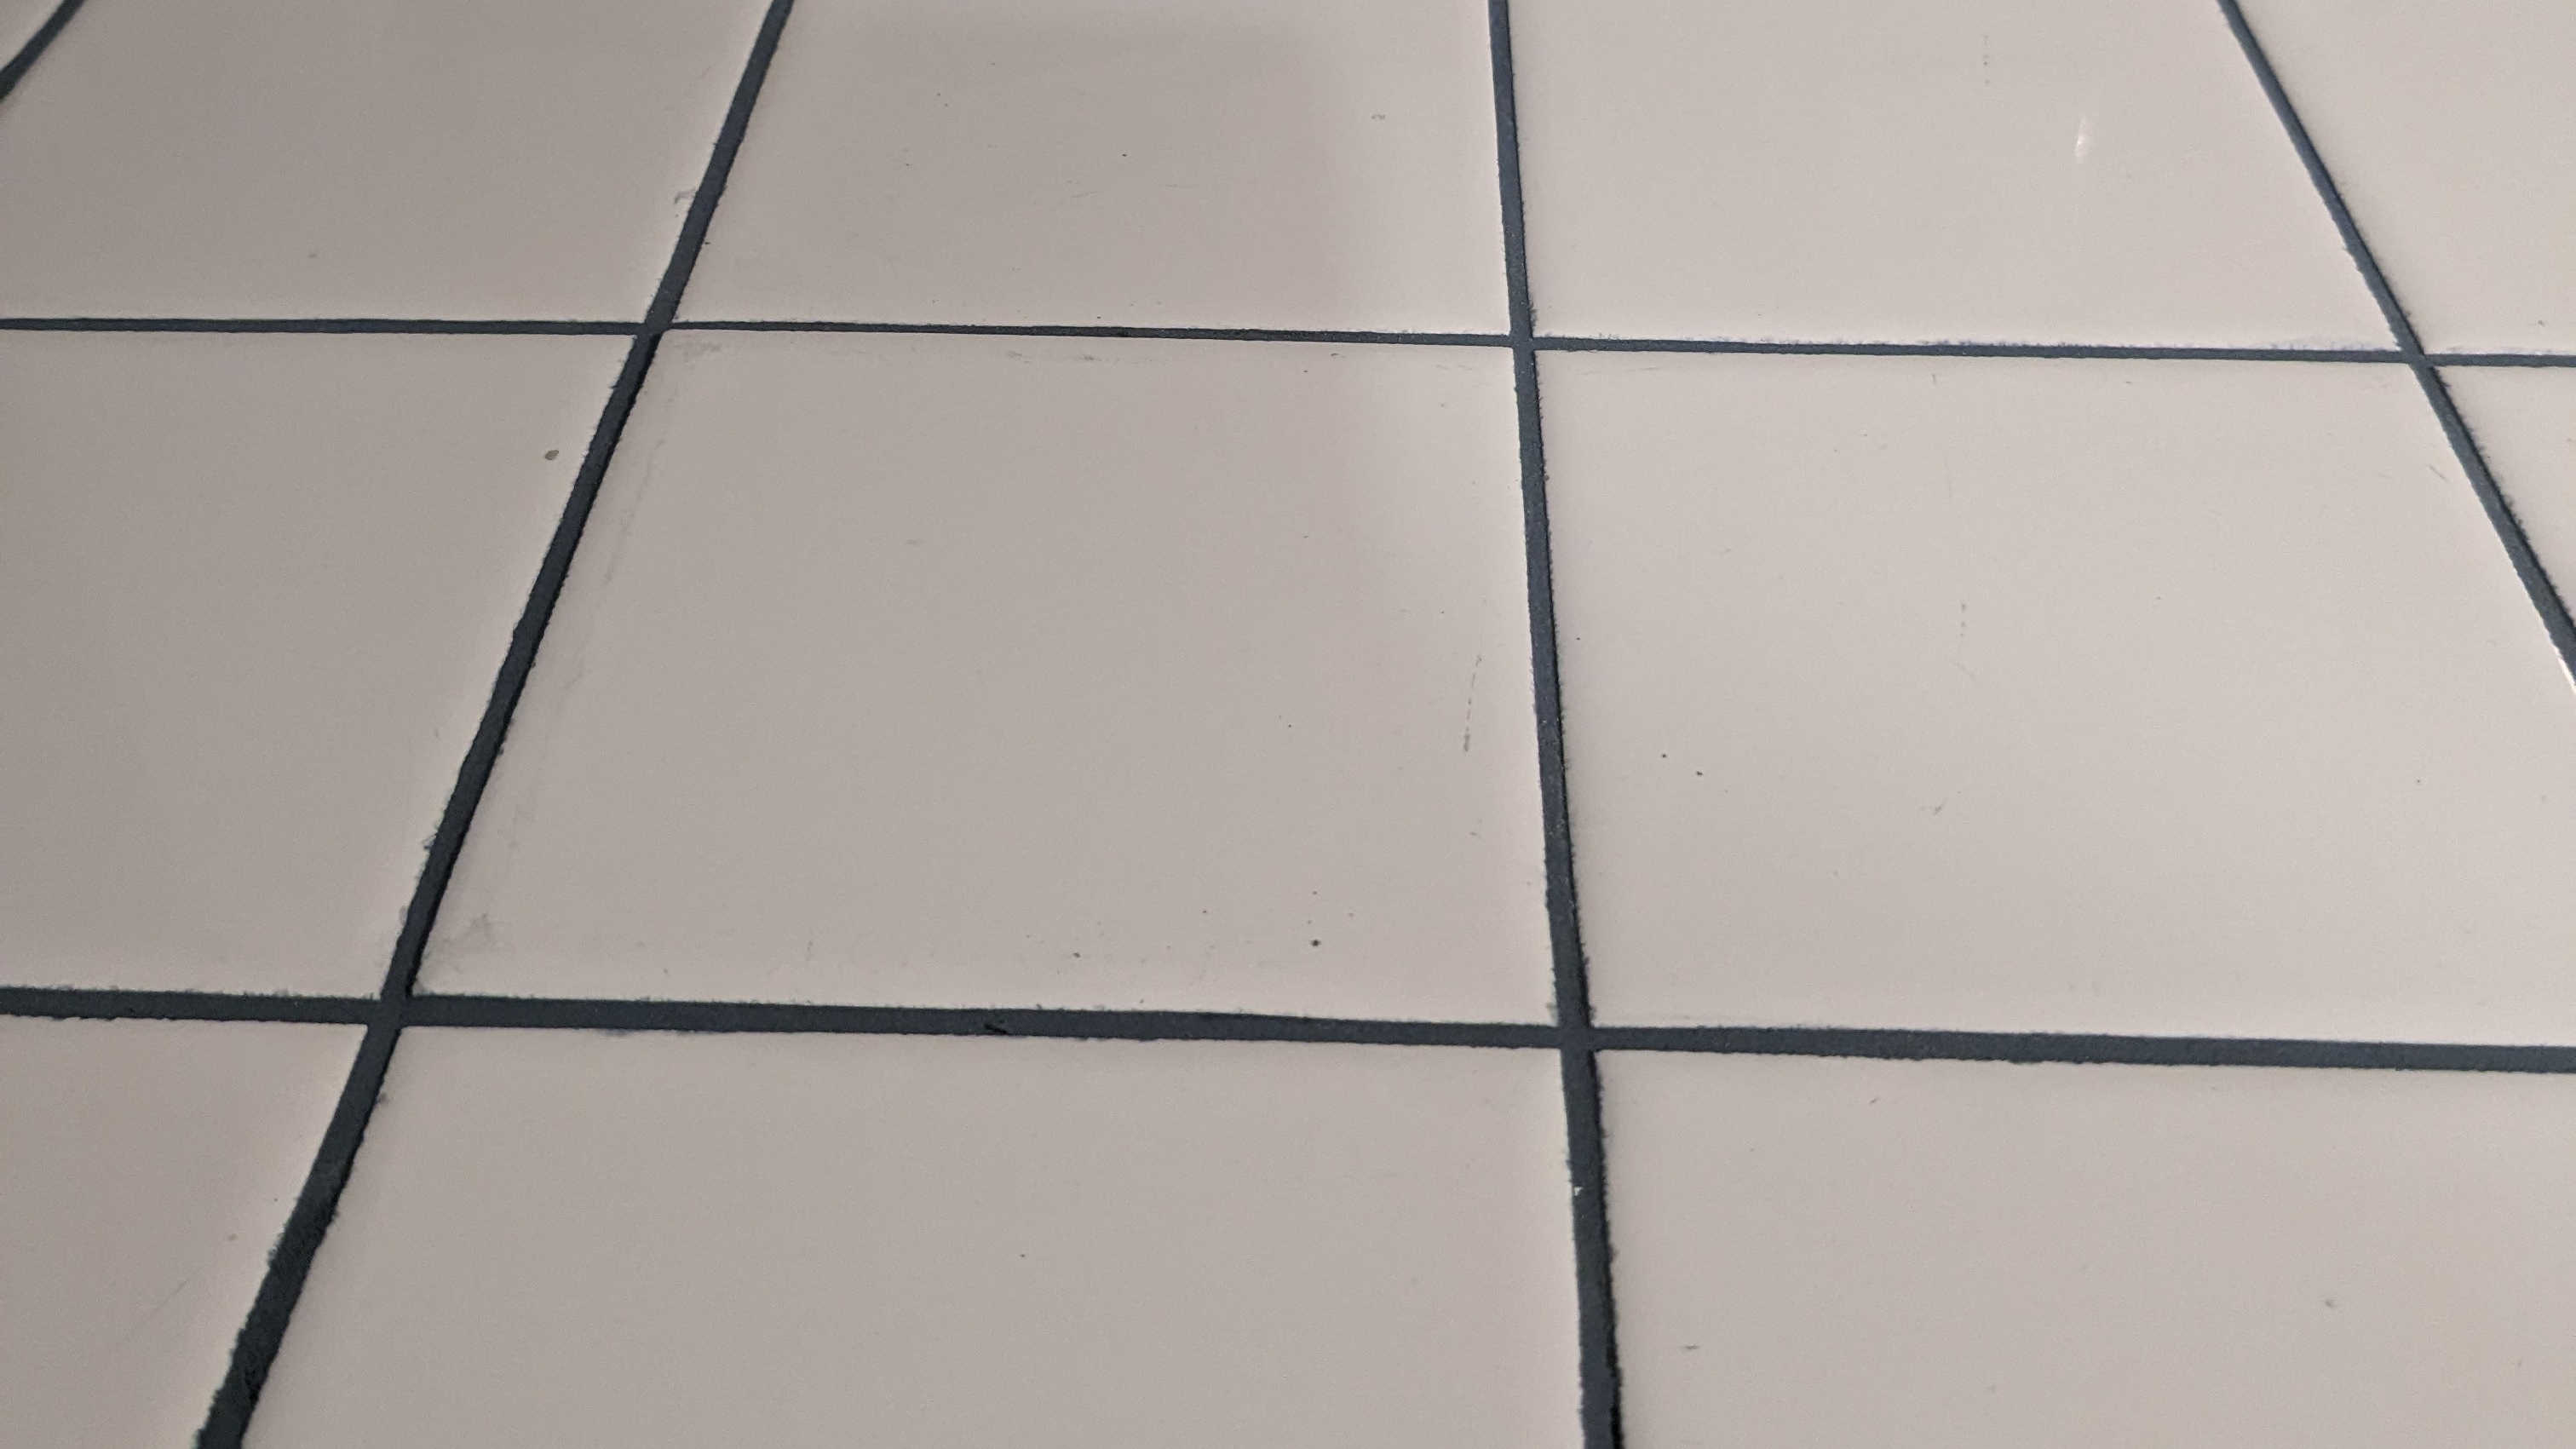
One of the things I really didn’t like about the Church Street House when we bought it was the tile countertops. It just seemed like keeping the grout between the tiles clean enough for food contact would be impossible. But replacing them wasn’t in the budget. I considered trying to coat them with some sort of epoxy – either a clear coat or white, but couldn’t find the right product in stock anywhere so I eventually just gave up. But the grout had really started to fail over the last year or so, cracking, crumbling, and seemingly vanishing in places. So it was time to come up with a solution and I decided on regrouting the countertops but with a colour that would at least hide stains better than white.


Which I obviously had no idea how to do. So I went to the fancy tile store, asked what my options were, selected a new grout colour, and bought all the tools they suggested.

Here’s my tool list for removal of the old grout:
- Safety glasses
- Dust mask
- Manual grout removal tool
- Oscilating multitool – This is not the one I have but I’d prefer it because it’s light and small enough to hold in one hand. The one I have was super cheap because I thought I’d just use it for one project, but it has turned out to be an incredibly useful tool.
- Carbide blade for oscilating multitool
- Utility knife with dull blade
- Shop vacuum
Here’s what I did:
- Put on safety glasses and dust mask.
- Put the carbide blade on my oscillating multitool. Use it to gently chew through the grout, being careful not to scrape the tile surface.
- Keep the shop vac running in an attempt to manage the dust as I worked.
- After I got out as much grout as I could with the multitool, I used the manual grout removal tool to get harder to reach areas. After vacuuming everything up, I used the utility knife to try to scrape out remaining pieces. It’s important to use a dull blade so prevent scratching the tile, and so that if it snaps, it’s less dangerous, and also it would be a waste to use a sharp blade.
- I was definitely not able to get all of the grout out, but I did clear a path deep enough (at least 1/8 inch) so the new grout to have a place to go.
- I vacuumed everything again and then wiped the counters down with a good all-purpose cleaner.

Here’s my tool list for regrouting countertops:
- Plastic sheeting
- Painters tape
- Powdered grout – I used powdered because the colours I wanted to were only available in powdered, but I had a hard time getting the grout properly mixed so I think I’d settle for a boring colour next time so I can use premixed grout.
- Bucket
- Drill
- Mixing paddle drill attachment
- Grout float
- Grout sponge
- Grout sealer
And here’s what I did:
- Prep the space by protecting anything I did’t want covered in grout. I used painters table on the backsplash (I didn’t regrout that since it was still in good condition and I didn’t want to have to deal with trying to find a matching caulk). I also used painters tape on the edge of the counters and around the sink and on a couple tiles that already had surface damage. I put drop cloths on the floor around the counter to catch any stray grout.
- Then I mixed my grout. What I did was put all of the dry grout in a bucket, then add about 3/4 of the water and then mix. From there I added more water in an attempt to get the right consistency until I got to the max amount of water and there was still dry powder that I couldn’t incorporate. Because that’s what the back of the box told me to do. But apparently what I should have done is started by mixing less than half of the powder with less than half of the recommended water before gradually adding more powder and more water until I’d used all of the powder and had a peanut butter-like consistency.
- After mixing the grout, I let it sit for about 10 minutes before giving it another quick mix.
- Each section of my countertop was about 3 ft by 3 ft which is the perfect size area to do before moving on. I scooped a small amount of grout onto the tile surface. Then I held the grout float at a 45 degree angle from the tile surface and pushed it diagonally across the tile joints to smear the grout into the joints. Then I switched directions to ensure all joints were completely filled.
- Then I held the grout float at a 90 degree angle to the tile surface to scrape off extra grout, being careful not to pull any grout back out of the joints.
- I moved any remaining grout to the next work area.
- After it was all done – it took about an hour in total – I was able to go back with a grout sponge to try to wipe off excess grout from the tiles. That said, it seemed like it was too easy to pull the grout back out of the joints and I was just making everything wet, no matter how hard I wrung out the sponge. So I ultimately decided to use a dry paper towel to wipe off the center of the tiles and then let it dry completely before trying to clean any excess grout closer to the joints.
- Finally, I applied a few coats of grout sealer in order to protect it a little more.


Obviously the tiles are full of imperfections and I wasn’t able to protect all of them with painters tape, but I suspect most of the extra blue will wipe off over time. Overall I’m happy with the decision to regrout the countertops because they look much prettier and cleaner, though I’m still tempted to coat the whole thing with with some sort of clear coat until I’m able to completely replace them.


Leave a Reply