It’s probably about time for some updates on the Church Street House in Wilmington.
My initial goals were:
- Replace missing siding, fascia board, soffits, and crawlspace covers
- Fix porch decking
- Replace broken windows
- Build some beefier pillars for the porch
- Paint the exterior?
- Paint the ceilings
- Get the ducts cleaned
- Replace missing vent covers
- Replace squishy flooring in the primary bathroom
- Buy some appliances
And since making that initial list, I’ve discovered a few additional things that need doing:
- Refinish the hardwood floors
- Get a new toilet for the primary bathroom
- Figure out why there is water *in* the bathtub and fix it
- Fix leaking drain in bathroom sink
- Fix leak in other bathtub
So aside from finding more things that need doing, what have I accomplished so far?
I stumbled on a contractor that had immediate availability who suggested refinishing the floors and installing new drywall on the ceilings, along with crown molding – before we started moving in. The immediate availability was a bit of a red flag, but I figured I’d test him out with a couple smaller projects without risking too much, especially since I wasn’t going to be able to do much work myself in January.
Here’s an idea what the ceilings looked like when we purchased the house:


The ceilings were stained, cracked, warped, and poorly repaired. And textured. My initial plan was just to paint them to freshen them up a little. It would have been much cheaper but also much more time consuming and much more of a literal pain in the neck.
So when the contractor suggested installing new drywall on top of the old ceilings AND finishing the look with crown molding, I decided to splurge for the upgrade. I also had him fix the porch decking.
So here’s what the new ceilings look like:

Although a little bit over budget, these projects went well enough so I decided to ask for quote for the window replacement, hardwood floor refinishing, and siding, fascia board, and soffit repair.
His quote for window replacement was double what I expected so I decided to get a second quote. He was unable to really give me a quote for the exterior repairs citing the likelihood of finding rot, etc., that would add to the cost of what might initially seem like a simple job. I understand this perspective and will likely hire him to do it, but not until I can physically be there to supervise. And I hired him to refinish the floors because his price seemed extremely reasonable.
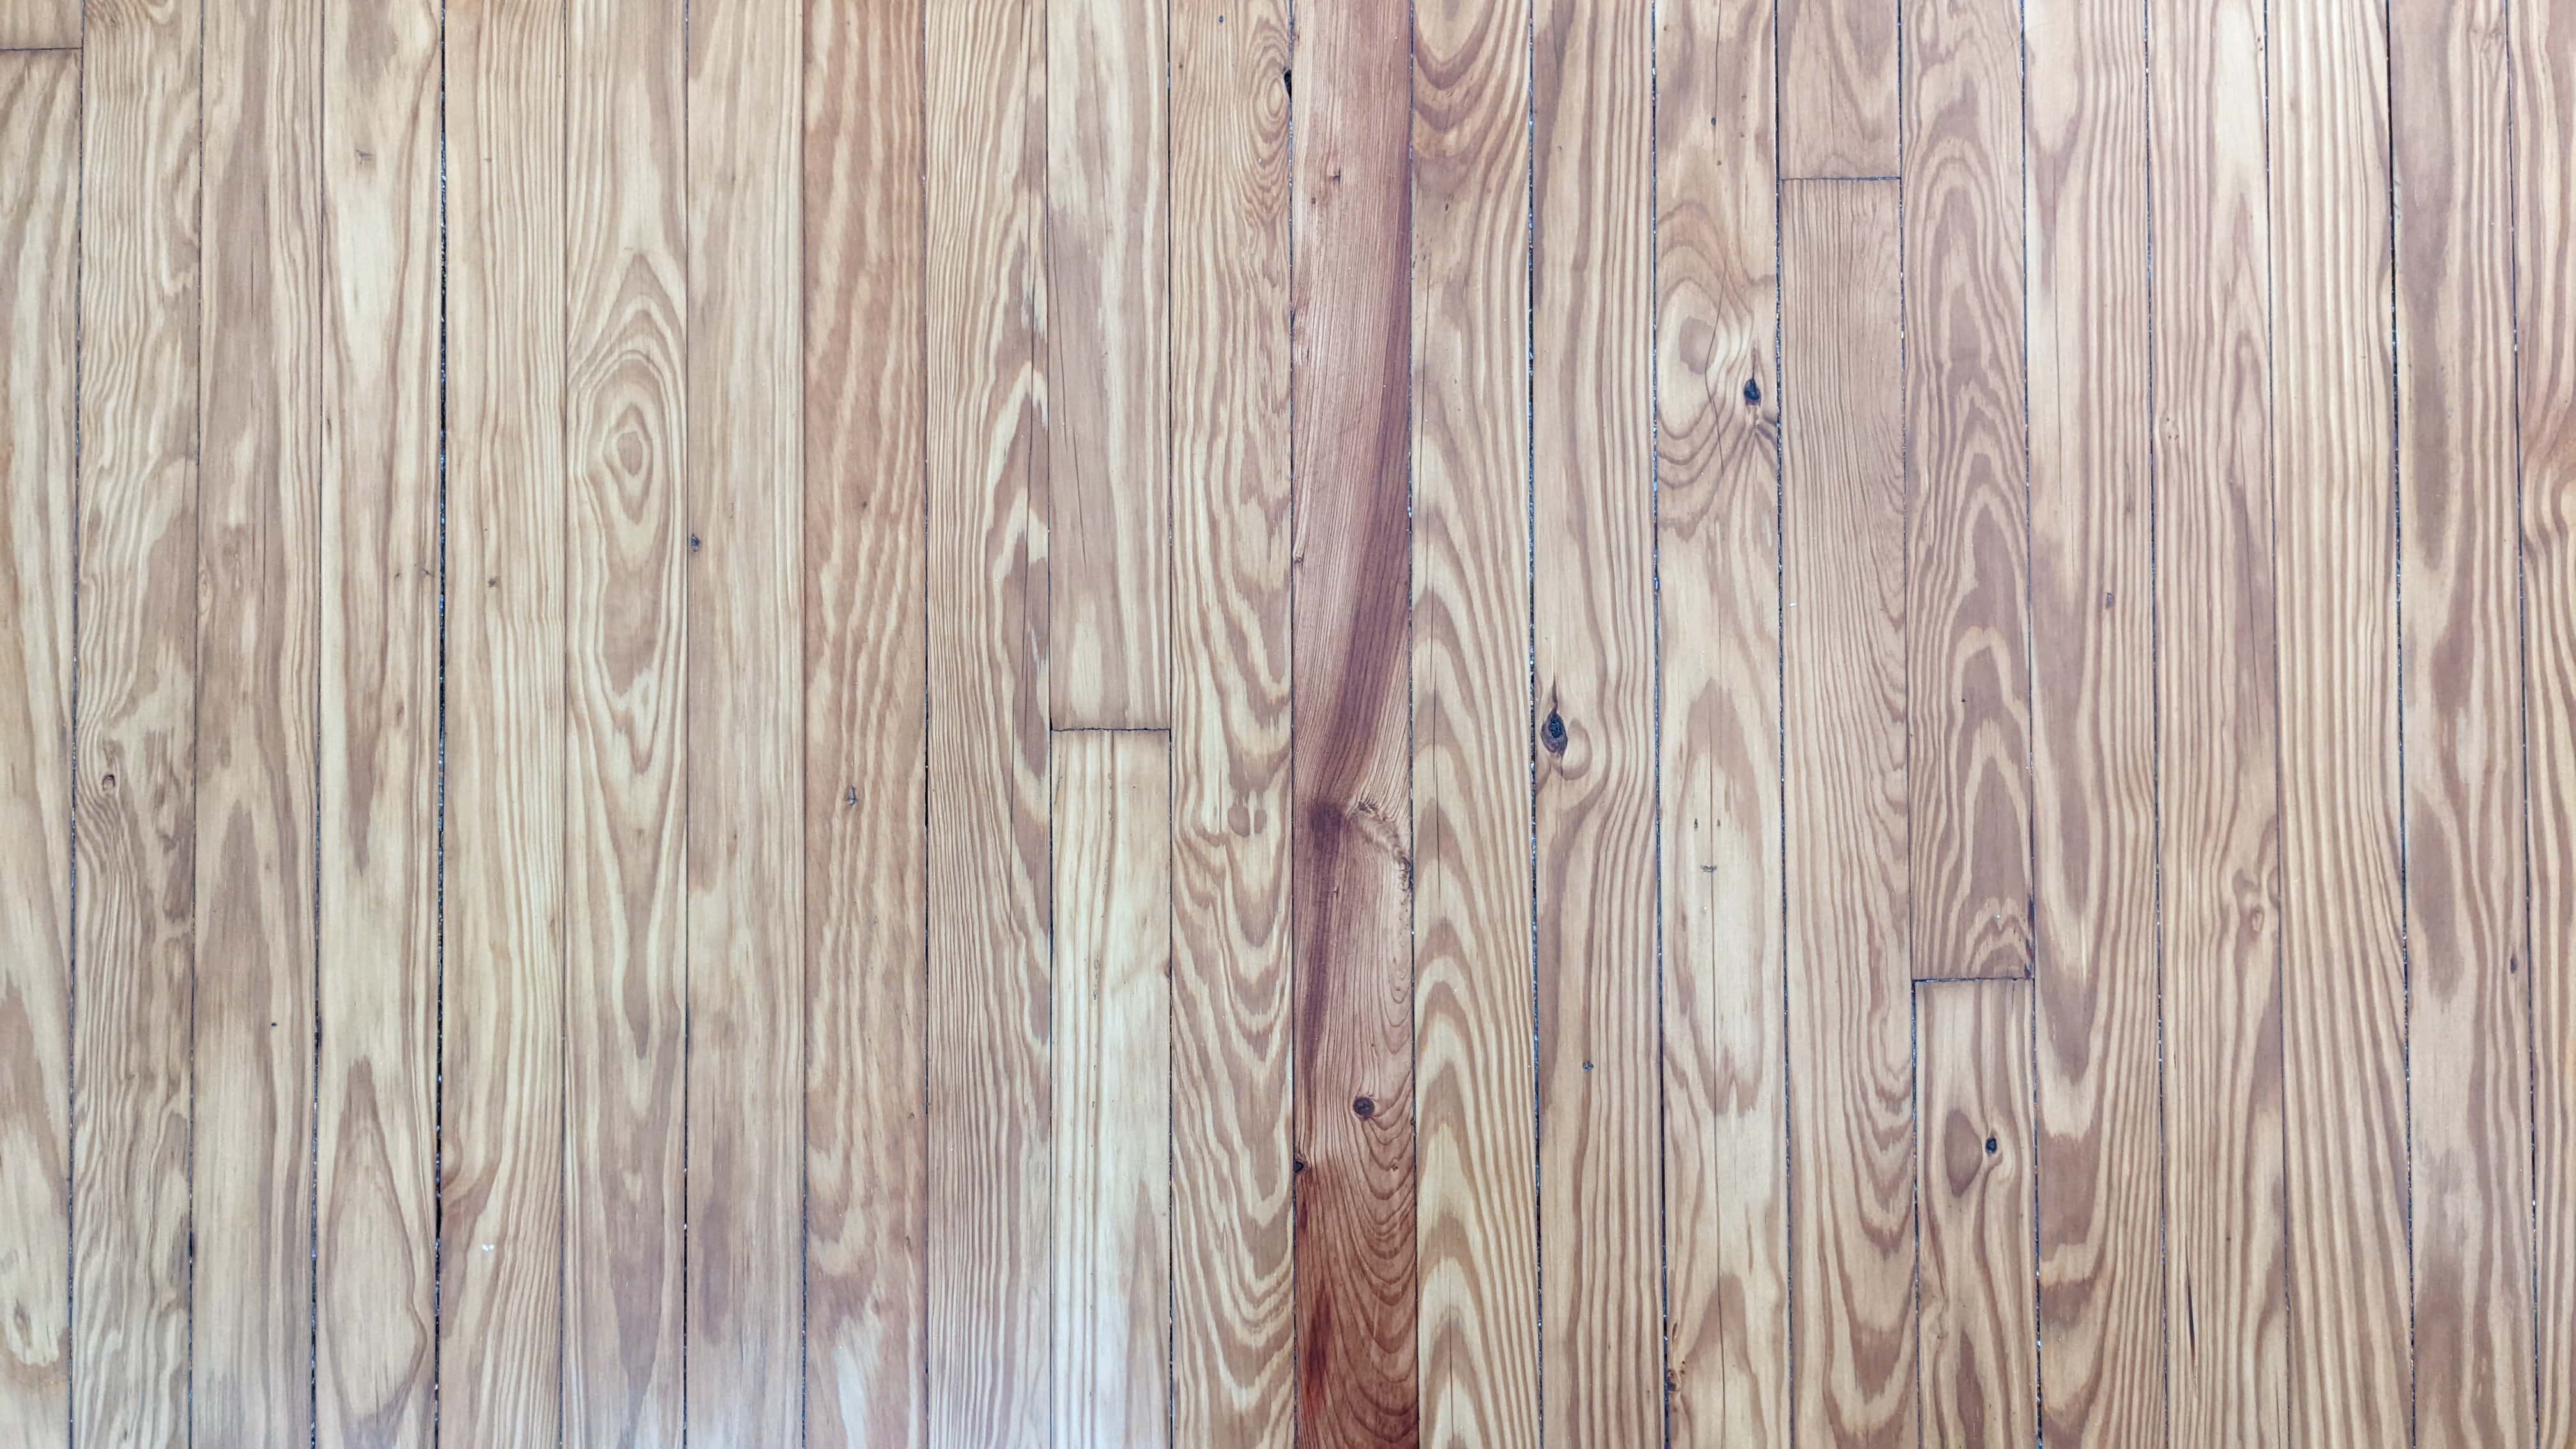
When we first toured the house, I didn’t realize the floors weren’t properly finished. And the inspector didn’t note anything to that effect either, but at some point, I noticed that the floors in some of the rooms were quite rough, and in other rooms the wood just appeared extremely raw in some places. The flooring guy seemed to think that previous owners had started the process of refinishing the floors themselves, sanding down the old floors (likely with a palm sander), and then applying a first coat of oil based polyurethane. It didn’t occur to me to take before pictures, but this might give you a bit of an idea of how unevenly finished they were:

Notice how some sections, particularly between the door frame, are lighter or darker than the rest of the floor?
Anyway, the flooring guys ultimately ended up having to do more than planned and basically restarted the entire process from the beginning. But the end result is pretty satisfying.

I was able to accomplish the simple task of replacing the missing vent covers and have gotten a quote for getting the ducts cleaned but I am holding off on scheduling it until most of the dusty interior work is done.
I also bought a new washer and dryer. So that covers the appliances, although I should look into getting the oven repaired.
When I’m able to spend some time in the house, I’ll have the contractor work on those exterior repairs and I’ll work on tackling the squishy floors and new toilet in the primary bathroom.
So the last thing I haven’t talked about is the water *in* the bathtub. What I mean by that is that the bathtub appears empty and dry, but if you step inside, you feel like you’re standing on a waterbed. When I googled squishy bathtub, there’s a pretty strong consensus that the tub just needs better support. And when I tried to explain to the contractor that there appears to be water between the tub and the liner, he tried to convince me that there is no such thing as a tub liner. It took a fair bit of internet digging before I was able to confirm that yes, liners can be added to old tubs instead of replacing or resurfacing them, and that if not properly sealed, there is a tendency for water to get trapped between the tub and the liner. The solutions I’ve seen offered involved either disconnecting the drain and trying to shop vac out the water, or drilling a hole in the bottom of the tub (but not through the liner) to drain the water. I am not entirely convinced that the drain method would work, since the liner appears to be very well sealed around the drain so we’ll likely start with the drilling method. Obviously the other part of the solution is to figure out how water is getting under the liner in the first place. This could be from bad caulk around the rim of the tub, missing caulk around the spout, bad caulk around the window, theoretically a poorly sealed drain, OR water penetration from outside, since the location of the tub also lines up with where there is a bunch of missing siding, soffits, and rotten fascia boards on the outside of the house.
And also the bathroom drain broke, to the point that I don’t think any of the water is not just ending up in the bucket under the sink, which was thoughtfully placed by whoever broke it while working on the ceiling.
And also the other bathtub leaks steadily into the crawlspace while in use. I haven’t done enough investigation to determine if the leak is from the drain or supply lines.
So here’s a summary of where we’re at with the to-do list:
- Replace missing siding, fascia board, soffits, and crawlspace covers – planned
Fix porch decking- Replace broken windows – need to get second quote
- Build some beefier pillars for the porch
- Paint the exterior?
Paint the ceilings- Get the ducts cleaned – planned
Replace missing vent covers- Replace squishy flooring in the primary bathroom – planned
Buy some appliancesRefinish the hardwood floors- Get a new toilet for the primary bathroom – planned
- Figure out why there is water *in* the bathtub and fix it – ugh
- Fix leaking drain in bathroom sink – ugh
- Fix leak in other bathtub – just gonna get a plumber at this point
As far as painting the exterior of the house, it’s currently a pale yellow vinyl siding, possibly this colour, and I hate it. But I think I hate the vinylness and the shape of it as much as the colour and I’m pretty sure I’m not going to get all new siding. It is apparently paintable, but like I said, I’m probably going to hate a new colour just as much. But what about just painting the trim? It’s currently black and looks quite garish in my opinion, but I can’t decide what, if anything else, would look better?


Leave a Reply