Hello and happy inauguration day!
Let’s get back to the Mulberry House room reveals, shall we?
This week I’m giving you the grand tour of the living room.
So here are some before pictures to refresh your memory:

This was essentially the view from the front door.

And here’s a view back toward the front door. Notice the missing light switch cover beside the door? It’s because the switches were installed in such a way that a cover wouldn’t fit. Which is unfortunate, because the wires also didn’t really fit so they were kinda just sitting beside the switches. Totally safe, I’m sure.
Also notice the sweet surround sound system on the walls. Pulling it out only caused minor damage – I guess I should have left it in – I mean how often do you find a rental house that comes with a built-in surround sound system?

If you look towards the ceiling in this view, there are all sorts of dark spots. Don’t worry, they’re not mold or anything, just huge gaps between the trim and walls that needed to be caulked. There were similar ones along the baseboards.

I love this cute little built-in shelving unit.

Some parts of the walls were in pretty rough condition but with a little joint compound and creativity, they were able to be adequately repaired.

Yes, there were multiple different shades of beautiful beige on the wall. And yes, the walls (and trim and ceiling) were incredibly dirty.
So anyway, that was our starting point.
The living room refresh plan was to:
- clean
- caulk gaps
- paint
- replace the thermostat, electrical devices and covers, and air intake cover
- paint the ceiling fan
- refinish the floors
Despite the innumerable hours I spent cleaning, caulking, and paining the entire house, I seem to have failed to take a single picture of this.
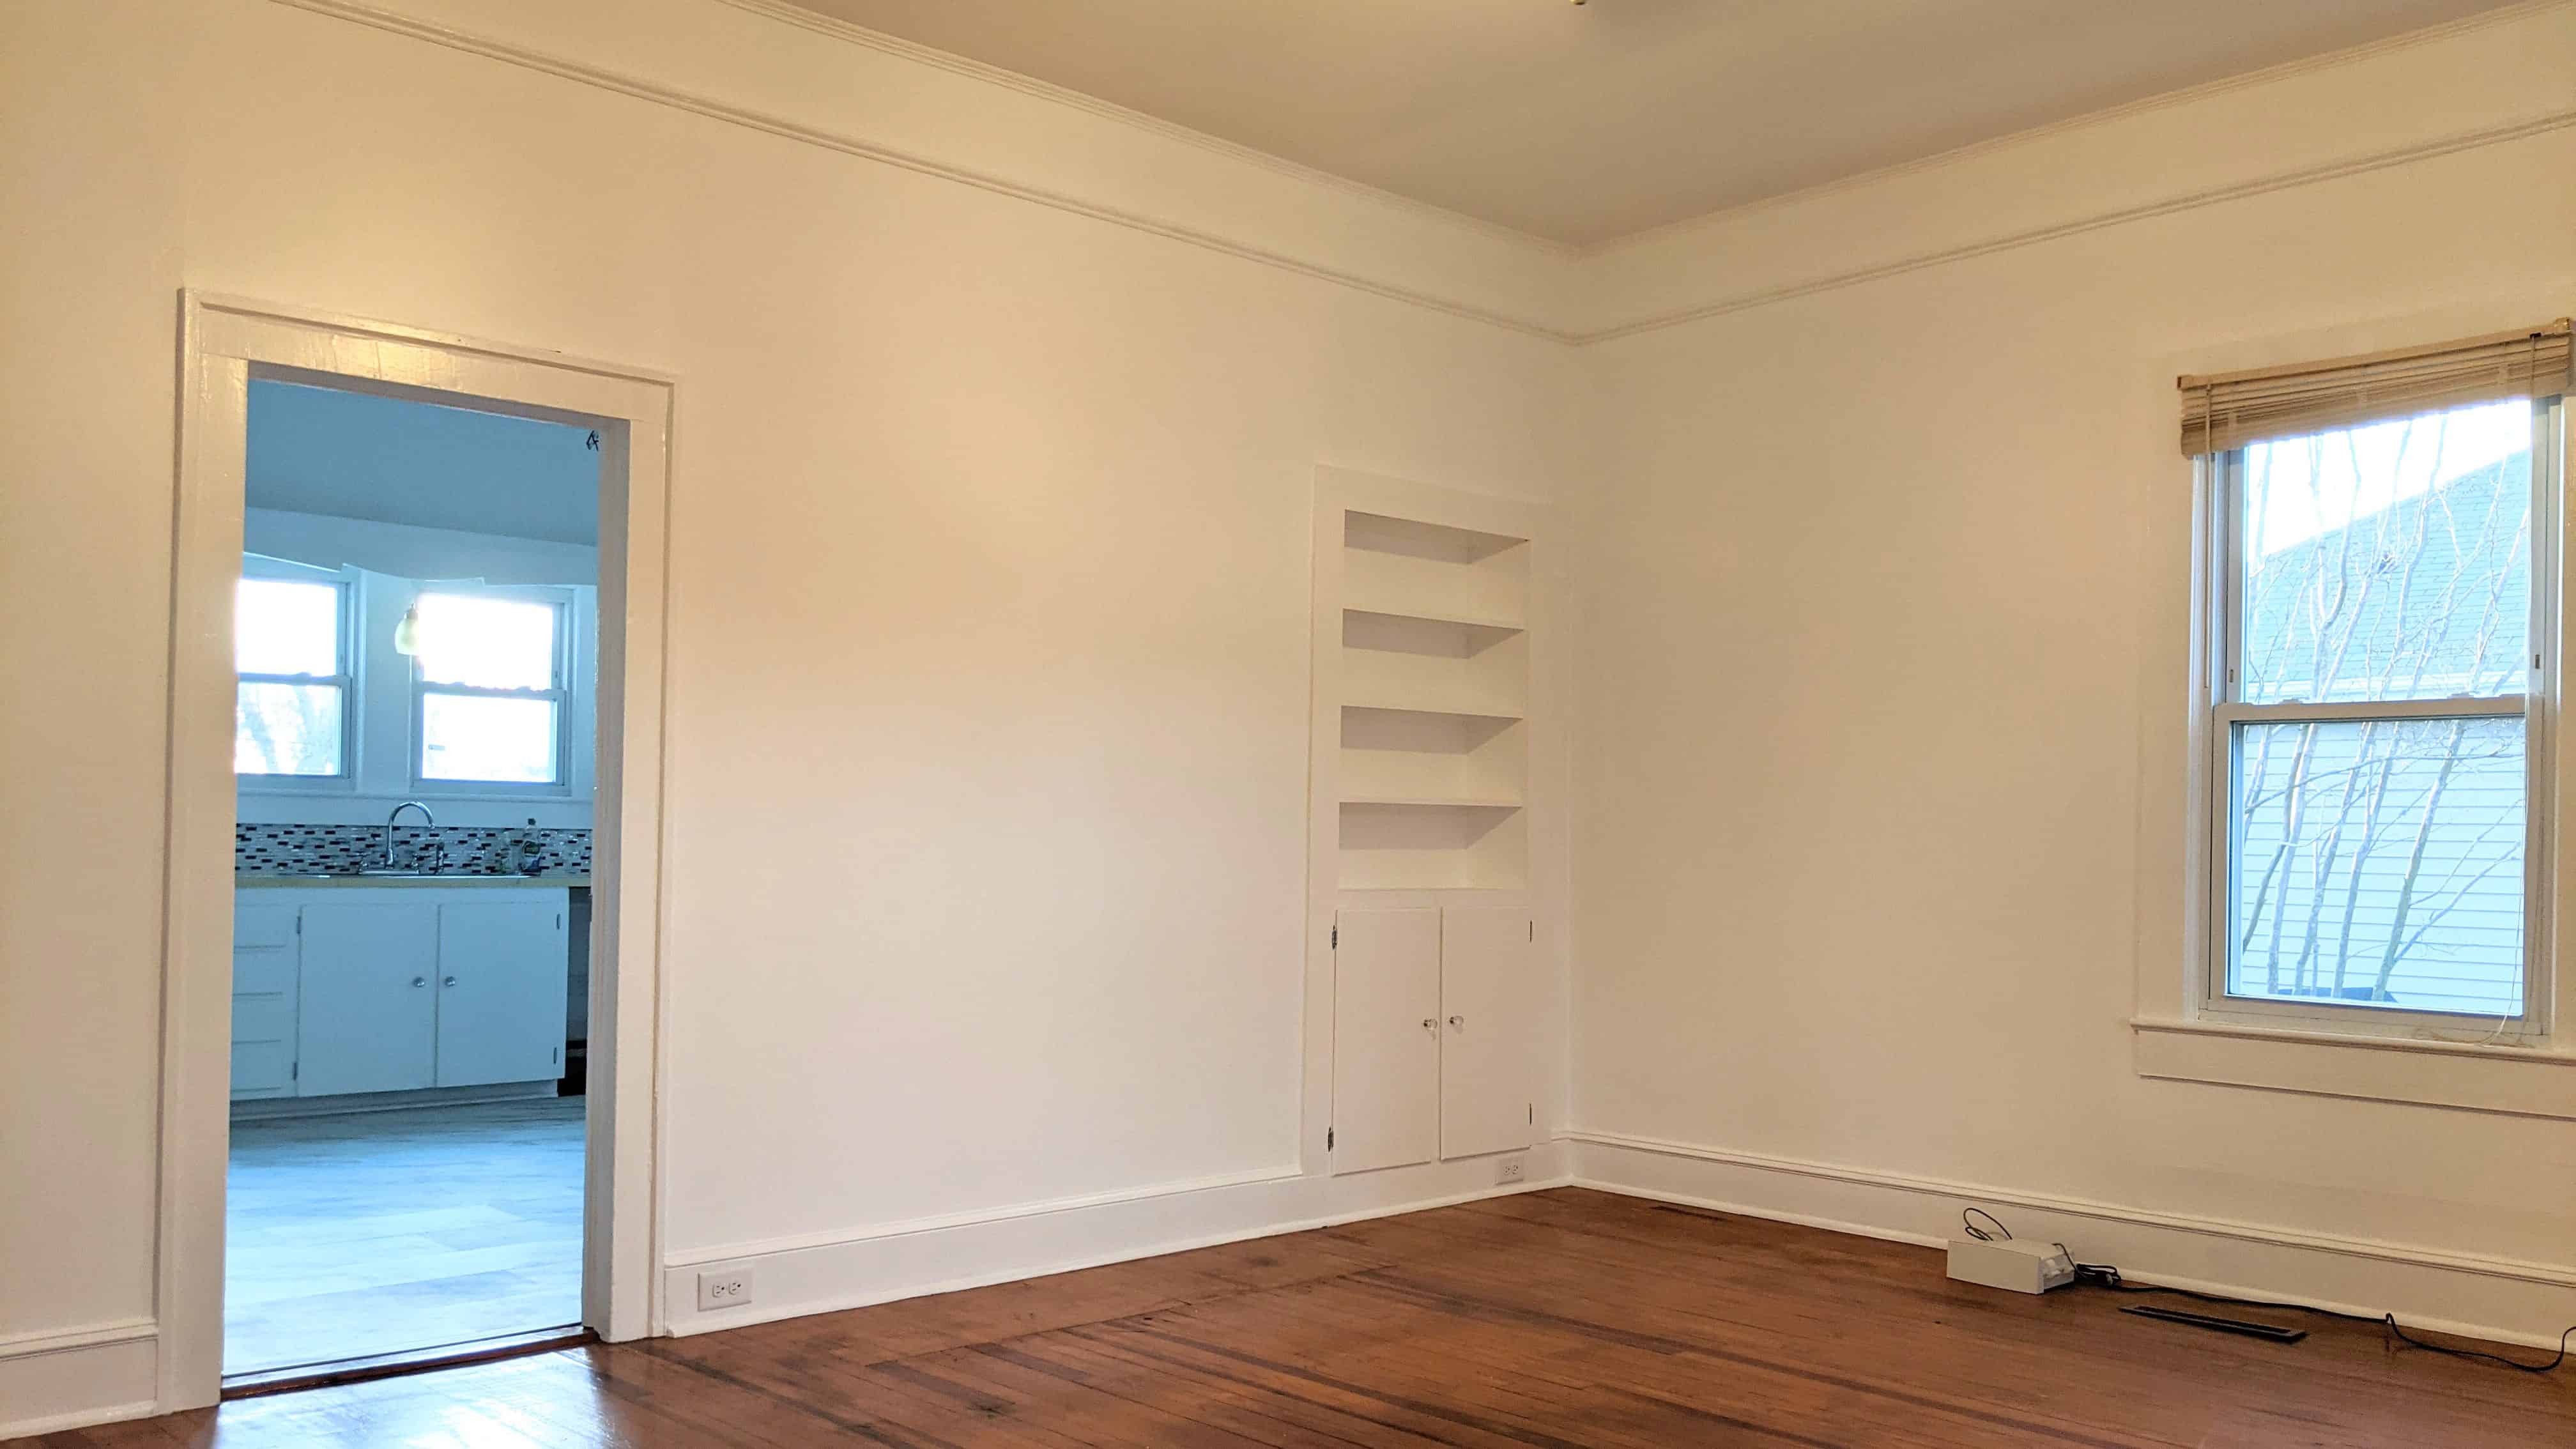
So here’s what the living room looks like now:

That is the view from the front door after the refresh was complete. Sorry the lighting sucks. Just imagine that the walls, trim, and ceiling are all perfectly white. Except inside the cabinet of the built in is bright yellow! Which I obviously didn’t take a picture of! And I also didn’t take a close up shot, but I put sparkly new knobs on the cabinet because I had another use for the two vintage knobs that were previously there.

And here’s the view back towards the front door.

Look at that beautiful new air intake filter, the electrical covers that basically disappear into the trim and wall, and the fancy Nest thermostat.

Ultimately, I didn’t have time to refinish the floors so that will have to happen with phase two. Phase two will also involve an update to the lighting – whether that’s just painting the fan, or replacing it.
You may also notice the beige mini blinds in the photos. They are not pretty but they were free so I decided to leave them up for the tenants so they would have some level of privacy. Because I’m considerate that way.
Here are all the details and sources:
Walls: Behr Ultra Interior Eggshell Enamel in Ultra Pure White
Ceiling: Behr Premium Plus Ceiling Flat Paint in Ultra Pure White
Doors and trim: Behr Premium Semi Gloss Interior Cabinet and Trim Enamel in Ultra Pure White
Cabinet interior paint: Behr Ultra Interior Semi-Gloss Enamel in Unmellow Yellow
Cabinet knobs: Chrome and Clear Faceted Glass Cabinet Knobs by Liberty
Thermostat: Nest Thermostat E (no longer available), similar


That’s it, I’ll talk to you next week!


Leave a Reply