My poor little brain is still drowning in ideas (or lack thereof) of what to do with the Mulberry House. Should we keep it as a 1-bedroom or add a second bedroom? And then should we also add a second bathroom? And should this be done by way of an addition or just rearranging a few walls? And should we try to expose the old chimney? Should we get all new kitchen cabinets and counter tops or should we just paint the old ones? Will there be old hardwood floors under the fancy kitchen linoleum and if so will they be salvageable and if not, what kind of floors should we put in there?
But alas, I’m getting too far ahead of myself. Before thinking too much about the fun stuff, I need to make sure we have a sound structure to begin with. And I need to get that 1319 pound gun safe out of the kitchen. And the boat off the driveway – did I mention the boat? That was last registered in 2001?

The previous owners of both objects apparently want them and promise to retrieve them soon so …. we’ll see.
But back to the structure. Let me explain the sandwich approach to renovating old homes: you start with the roof and make sure it’s not leaking, then focus on the foundation to make sure it’s solid, then focus on everything in between.
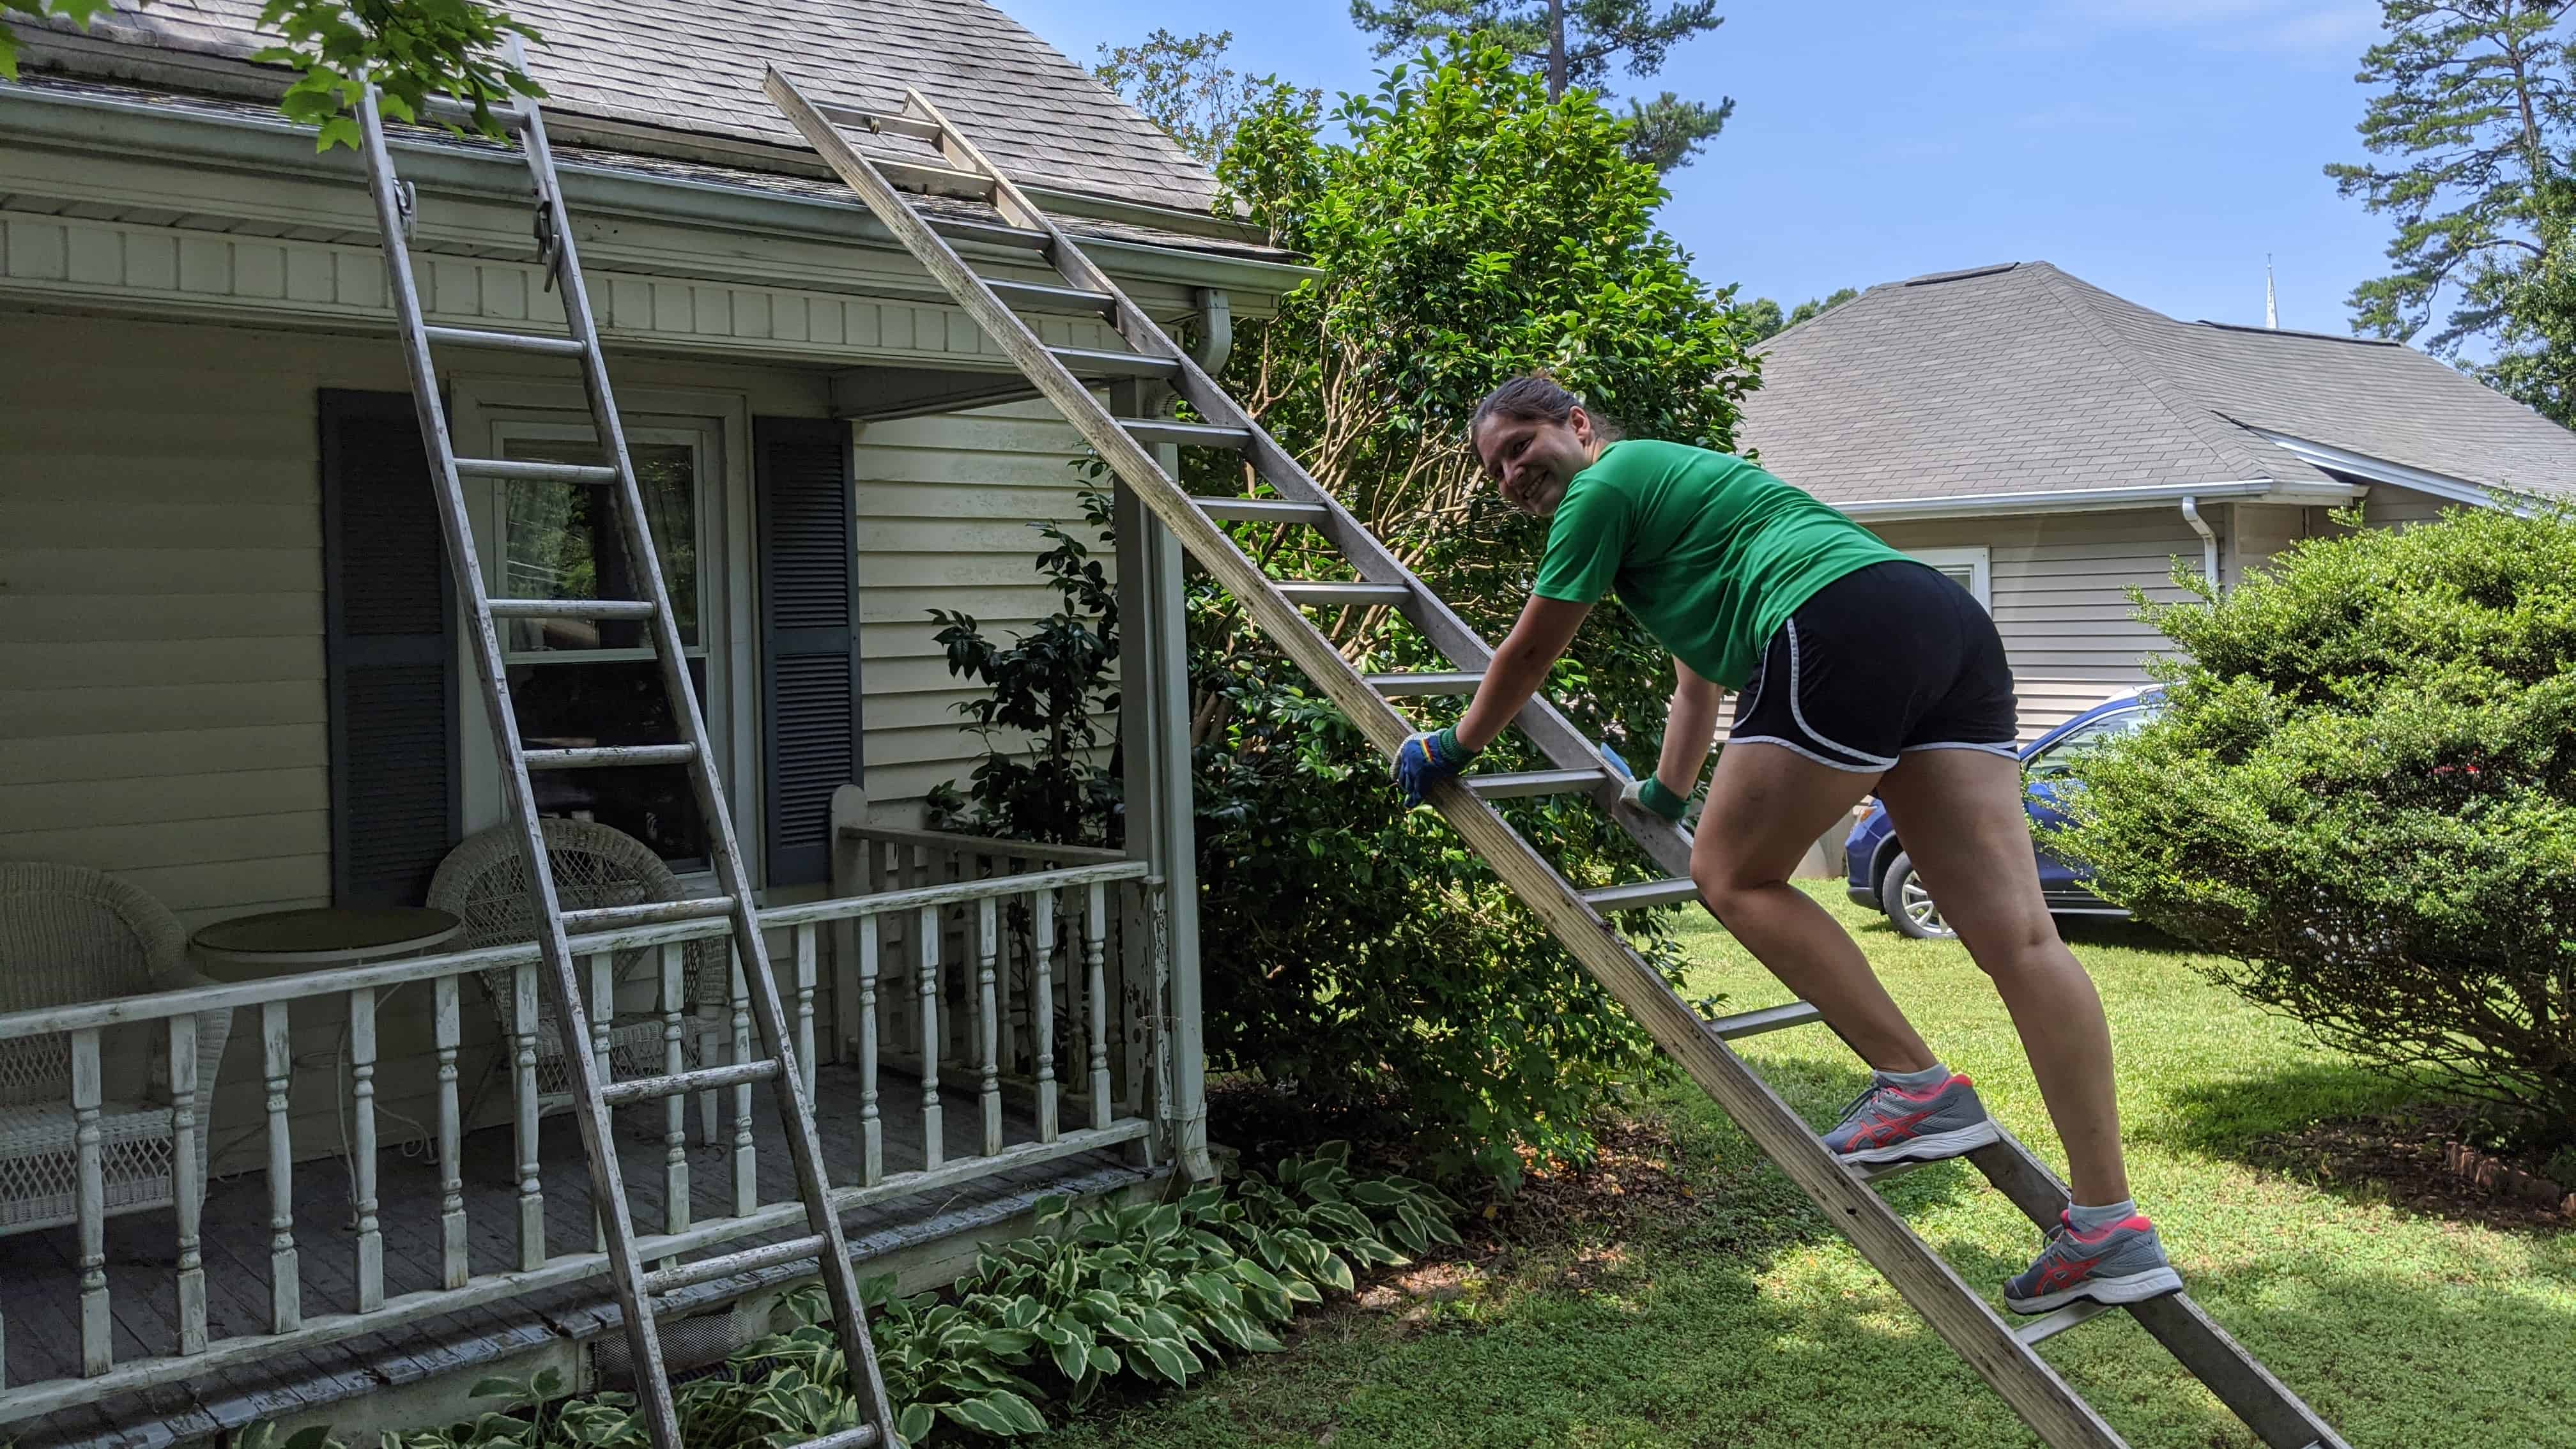
The roof is great. It apparently got new shingles maybe 5 years ago… maybe a little longer, but they’re in great condition. The gutters needed a little cleaning as there was a garden growing in them so I spent some time doing that, but it’s not super fun to sit on a dark roof in 100 degree sun.

In related news, a spatula is a great tool for cleaning out your gutters. So I’ll keep working on that next week and hopefully get all the gutters and downspouts cleaned out. And then the next part is the drainage on the ground.
I’m kicking myself for not having a good picture of this so let me draw you a picture.

As you can see, the grey gutters catch the water from the roof. It is then funneled down the grey downspouts into the black corrugated drainpipes. The black pipes then carry the water along the front of the house, turn the corner, and then dump the water into the foundation on the sides of the house. I believe that the gap in black pipe in the middle is supposed to collect runoff from the front walk and redirect it to the sides of the foundation as well.

This is a closeup of the front walk flanked with black pipes. Of course the reality is that these pipes are most likely completely clogged, but even if they weren’t, water from the front yard is all going to drain straight into the foundation. And this advanced drainage solution, even in perfect condition, is just deflecting which part of the foundation the water enters through.
So another “sooner than later” project (once I get all the gutters and downspouts and drainage pipes cleaned out) will be to move the drainage pipe exit locations such that the water flows away from the house.
The home inspection noted that “the crawlspace area has been subjected to prolonged exposure to excessive moisture conditions” but didn’t note any wood rot or decay. My updated drainage solution will hopefully be a big first step to help manage the moisture in the crawlspace.

Step two in crawlspace moisture management will be the installation of a vapor barrier (basically a giant sheet of plastic that sits on the crawlspace floor and against the walls to keep water out). I met with four different crawlspace / waterproofing / air quality specialists to get recommendations and estimates. The recommendations and estimates I got ranged from $707 for a 6 mill vapor barrier to $8021 for a french drain, sump pump, dehumidifier, new electrical outlets, and completely sealing the crawlspace. The other two estimates came in at $2666 and $3478 for mold remediation and a 10 mill vapor barrier. So it’s quite the range. Andrew’s trying to convince me we should deal with any present mold ourselves and then just spend $700-1200 on the vapor barrier.
So there might be more of this crawlspace outfit in my future:

But before we even do that, there’s a third step in crawlspace moisture management, which we’re actually going to deal with first.

The picture further up, with the puddle in the crawlspace, is actually a result of this. It’s a pipe that just ends, wide open, and gushes water as soon as the main water is turned on. Thankfully the water has been shut off for four years or the house would have floated away by now.
We think this pipe used to lead to the washing machine but it’s unclear why it no longer does. So I’m having a plumber come out today to just cap it so we can have running water until we figure out what other plumbing issues we need resolved (there are several) and want to change.
Running water is nice on 100 degree days and also when you have a bladder as tiny as mine.
The electricity has been on for all these years and we were happy to learn that the air conditioner works, though we’ve only gotten the house down to 74F so I’m not sure how well it works. And Andrew reassembled the refrigerator which also appears to work, though we’re not sure how well as it didn’t make a ton of sense to leave it running with no one living there.
Andrew also unsuccessfully worked at picking the lock to the storage shed.

I trimmed a bunch of trees and bushes to keep them off the house and out of the way and managed to fill eight bags with branches and leaves. Exciting work, I know.
And to end things on a fun note, I tested the paint for lead.

It’s super easy. Basically like a pregnancy test. You get this little stick, crush point A and B, shake it, squeeze lightly until yellow juice appears on the tip, rub and squeeze against the test surface. If it turns red, you’re pregnant.

And of course it’s lead. If it just stayed hidden under two other layers of paint, it would have been fine, but unfortunately the newer paint has been peeling off the walls, exposing the lead paint. And in order to get the wall smooth enough to repaint, I’m inevitably going to release particles of lead dust into the air if I’m not careful. It’s not a huge deal but I’ll have to be more careful about making sure that everything stays wet while I work, which will cause the lead dust to fall to the ground rather than floating in the air. And I’ll have to always work with a mask and other protective clothing.
Or we can just paint everything this color and hope no one notices how uneven the layers of paint are:


Leave a Reply